Project contributions
Electronics work
The electronics work for this project involved a whole lot of LEDs. The design of circuits for this project was rather basic (no printed circuit boards or anything like that) but the challenge was developing a way to connect the LED strips/gumdrops to power in ways were durable while allowing for me to still move around. There were two main parts to the electrical design in this project- the routing of wiring through the armor itself, and the implementation of a microcontroller to control the animated LEDs on Pidge's bayard.
The lighting in the armor was done with a combination of LED strips and the standard "gum drop LEDs". The challenge here was finding ways to hide the wiring within the armor pieces while not impeding mobility/ease of taking the armor on and off. I had seen other cosplayers that made similar armor develop wiring harnesses that spanned through their entire undersuit to one or two sources of power- and while impressive- they noted that approach made it a real pain to put the armor on and take it off. Instead I tried to keep my wiring modular- confined to each piece of the armor that it was for. This made it so I had to use more batteries (a combination of coin cells and AAs) but it also allowed each piece of armor to be fully removeable without disrupting the power of other circuits.
The LED strips in the chestplate were powered by a battery pack using AAs that could be turned on and off with a slide switch. I hid the battery pack inside the armor's "jetpack" which was velcroed on and could be removed. The wires were then fed through the foam and up to the collar where the LED strips were glued on. The same LED strips were used in the leg pieces of the armor. Each leg had its own battery pack, also powered by AAs. The battery pack in the leg pieces was plastic and held inside each leg piece by elastic. In hindsight for the leg pieces I would have wanted to find a bit of a softer way to hold the batteries or possibly switch to something with a smaller form factor like a lithium ion flat pack, because the plastic battery packs were a bit uncomfortable when walking around. The gumdrop LEDs were used in the belt and the shoulder pieces of the armor. LEDs were connected in series with resistors and powered off coin cells. For these circuits I used Ohm's law to calculate the necessary power needed and the subsequent resistance needed to get the correct forward voltage for the LEDs. This was a great way to practice the basic circuit analysis techniques I learned in high school electronics.
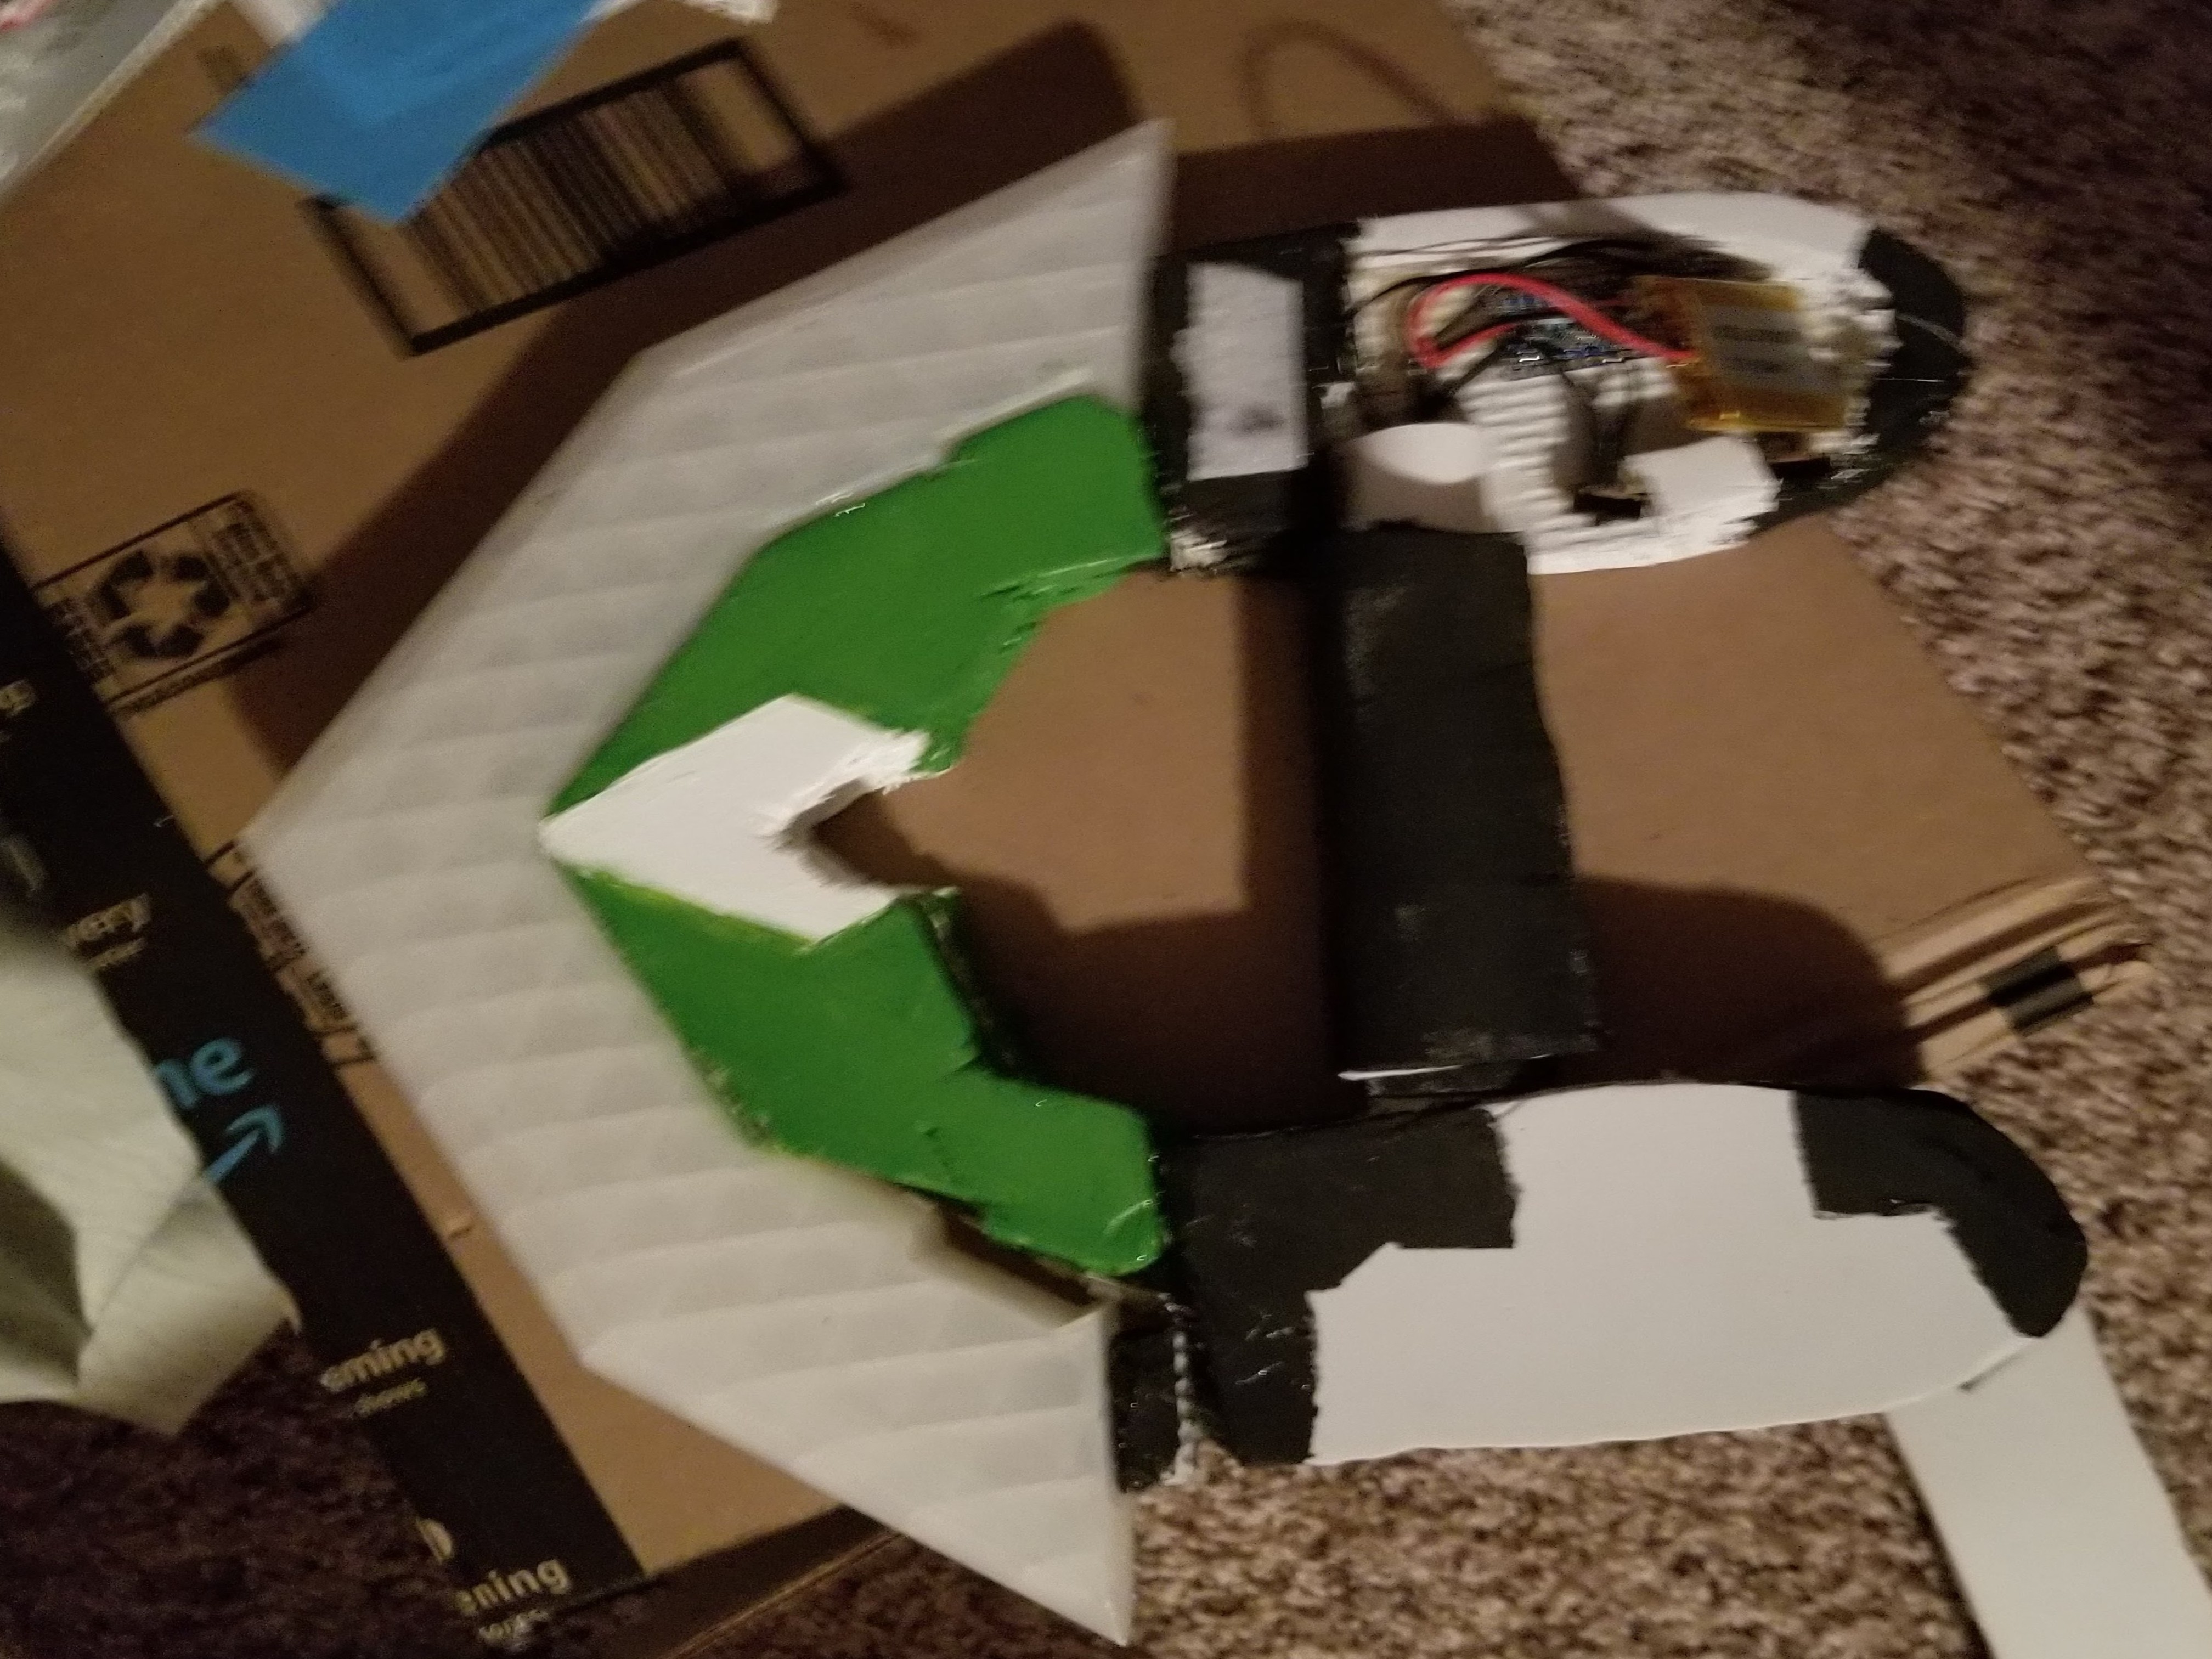
The lighting in Pidge's bayard (a prop) was done using a Adafruit NeoPixel strand controlled by an ItsyBitsy (Atmega32u4) powered by a 3.7v lipo flat pack. The microcontroller and battery were hidden in the handle of the prop and the wires routed up to the NeoPixels. This was my first time working with an arduino- let alone coding in C++. I relied heavily on the examples in the NeoPixel library to customize and create animations for the NeoPixels. The whole circuit could be turned off and on with a SPDT switch. I wanted to have a second switch that would change the modes of the NeoPixels to different animations- but I never quite got the code working correctly.
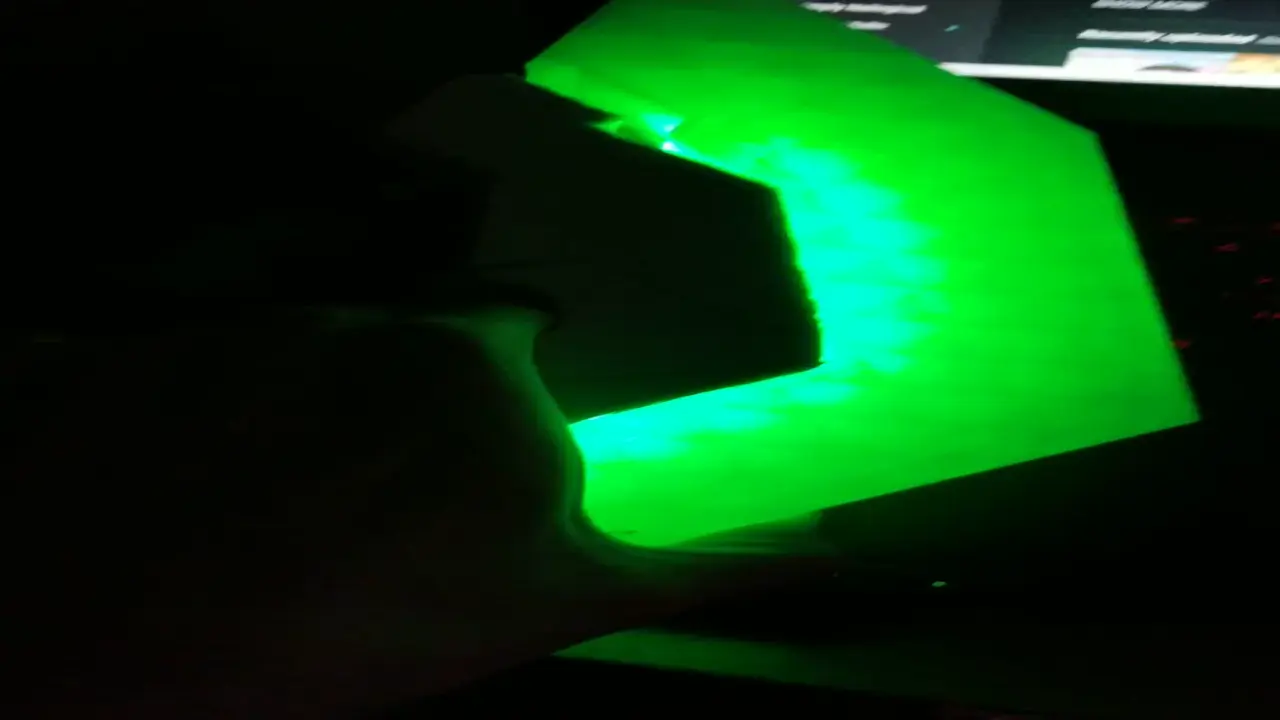
Below are images of some of the wiring/LEDs in action!


Foam fabrication
The bulk of this project was centered around fabricating EVA foam into armor. Most of my learning came from trial and error, reading forum and blog posts of other people who have done similar armor builds out of foam, the incredible "Foamsmith" series of books by Bill Doran of Punished Props, and videos of foam fabrication from the EvilTed and SKS props youtube channels. This armor build wouldn't have been possible without the wider cosplay community's and Voltron fandom's contributions to sharing resources and build notes.
The main material I used for this build was 10mm thick interlocking EVA foam mats. At the time, this was the cheapest way to get EVA foam in bulk but as cosplay has expanded as a hobby more and more retailers have started selling EVA foam by the roll. Detail work was done using 4mm thick adhesive backed foam, and Crayola model magic clay. The parts of the armor that held the LEDs were covered using sanded and painted PETG plastic to diffuse light. In hindsight- I would've used thinner foam for the construction of the armor (something like 8mm or thinner) because the 10mm foam was so bulky it made it a bit hard to walk around for long periods of time.
I began the fabrication process by drawing sketches of the general shape of each piece of armor. This involved using reference images of the characters in the armor from various angles as well as studying photos of other cosplayers that had fabricated their own versions of the armor. The challenge was figuring out how to flatten a 3D piece into a pattern that could be laid out on the foam. In order to get patterns that were true to form- I wrapped limbs in duct tape and saran wrap and then drew (or had someone else draw) the general shapes I had drafted onto the wraps as I was wearing them. This way- when I cut the wraps off and laid them out I got a shape that was true to my body proportions. This is a common technique for both cosplay and sewing pattern drafting. I transferred these duct-tape patterns onto sturdier paper and then used that as my guide when cutting out the foam. There are more sophisticated methods that exist such as using 3d modeling, but I did not have access to the resources to properly utilize those techniques.
When designing the armor pieces I kept ease of taking each piece on and off in mind. I wanted to be able to get out of the armor without help if need be. This especially came into play for the bigger pieces of the costume such as the leg pieces or the chestplate. The chestplate iteslf was actually fabricated in 3 different pieces-held together by elastic underneath and neodymium magnets in the end of each piece. This allowed me to easily snap it on over my suit and take it off again. I was inspired by the old polly pocket clothes when designing how it worked actually! The upper leg pieces were fastened with zippers that I could zip and unzip to get out easily and the lower leg pieces were also snapped together with magnets. Each armor piece was secured to the undersuit with heavy duty velcro- to keep everything in place when moving but still allow me to take things off easily.
The actual fabrication involved cutting the foam out with craft knives, sanding edges using a dremel and filling dents using Kwik Seal/Caulk. The pieces that were "solid" were glued together using contact cement. I also had to sand each piece prior to painting to get a smooth finish. This build taught me how to use various hand tools effectively and how to take proper safety precautions when working with toxic particulates and solvents.
For the painting of the foam- I primed each piece using spray on Plastidip. This allowed for a smooth finish before I laid the paint layers down. I originally wanted to use spray paint for the armor- and I did on a couple of pieces but it ended up chipping and cracking when the pieces were moved. So I switched to using an airbrush and specialty leather paints (that were originally meant for shoes). This worked much better and it gave me the bonus experience of learning how to properly use and maintain an airbrush. I used a spray on gloss finish sealant after laying down a couple of layers of paint on each piece to make everything look shiny. Through this process I found out I really enjoy airbrush painting, and will definitely use it on future prop and costume builds.
Overall the foam fabrication process taught me a lot of practical fabrication skills, as well as challenged me to think outside the box with how I designed things. It's not an easy task to take something that's only shown in 2D and translate it into 3D space, but I had a lot of fun doing it!
3D Printing and CAD
The design of the bayard "blade" was a pretty simple model. I chose to make a model instead of fabricating it out of foam because I needed the "blade" to be transluscent so the light could shine through. My CAD software of choice at the time was Autodesk inventor (because it was free) and I constructed the model of the blade within an hour. It was a solid piece with rounded edges along the tips of the blade- similar to how it looked in the cartoon. I was lucky enough to borrow some time on a friend's 3D printer to print out my model. I originally bought transluscent PETG filament, but apparently with the printer that was being used the filament didn't print well and ended up being a goopy mess. Instead the finished product ended up using white PLA filament with a low infill so the light could shine through well. As shown in the videos above it worked pretty well! Below are some screenshots of the CAD process and the finished model.


Sewing
For the sewing portion of this project I aimed to create a one piece, spandex undersuit that was breathable, stretchy, and could be a nice piece to secure the armor to. The characters in the show wear undersuits under their armor, but it's hard to tell if their one piece or not. Most cosplayers who have done similar builds also made one piece suits. This was my first time sewing spandex and sewing a garment where fit is incredibly important. Get the measurements wrong- the suit won't fit. So a big portion of the sewing process was reading up on spandex sewing techniques. A lot of my source material came from other cosplayers and oddly enough, wetsuit construction.
I was lucky enough to stumble upon a pattern in a book on sewing for cosplay I aqcuired. Since fit is so important for bodysuits, I sewed a draft suit out of bargain spandex I ordered from a local craft store to test the fit and modify the seams where needed. For the final suit I used a combination of 4-way stretch moisture wicking spandex and 4-way stretch mesh. I used the mesh for the side panels of the suit and for the upper part of the arms for breathability. To secure the armor I sewed on heavy duty velcro. I could have also used snaps, but the velcro made the armor lie flatter when tested. To get the velcro in the correct spots I marked the suit with washable chalk.